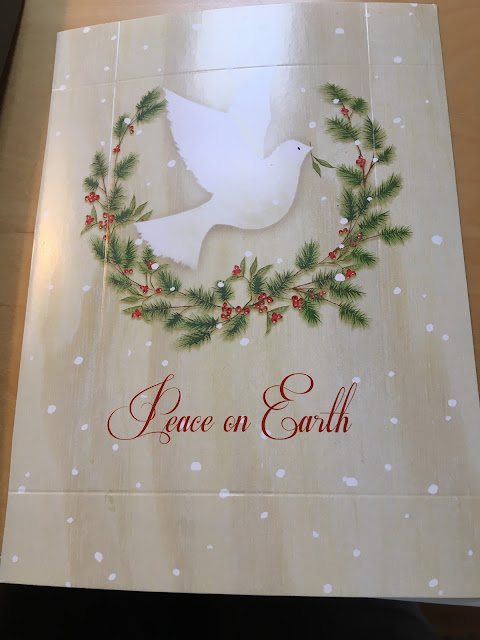
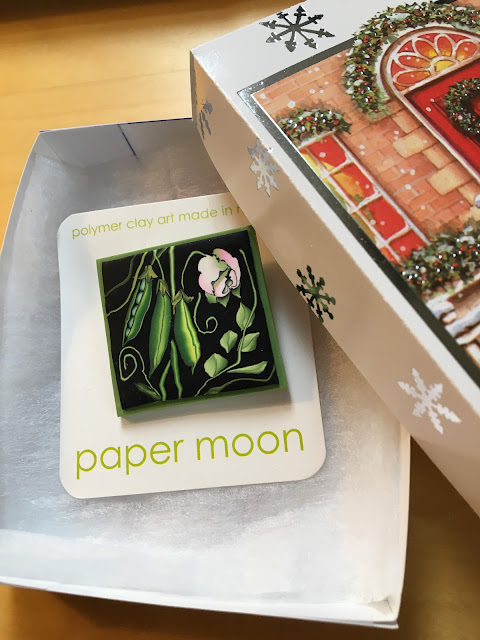
So many folks commented on the boxes I pictures on my Monday post that I thought I do a quick share on how to make them.
All you need is a card (I used Christmas cards), tape, scissors, ruler and a scoring tool. If you're a quilter you can use your cutting tool on a mat.
I have a paper cutter which has a scorer built into it.
Step one: cut the back and front of card apart at fold.
Step two: trim one long and one short side of the back piece by 1/8 or less. This will mean that the bottom of box will fit into the top. If you take off too much as I did on my first try the bottom will be really loose.
Step three: score the front and back of the card at the depth you want the box to be. Below you see score lines at 1 inch.
Step four: cut along the score lines at each corner to the depth of the perpendicular score line.
Step five: bring those cut sections in and tape to make the corners.
Here is the completed box front and
from back and side.
If you want a smaller box you will need to start with a smaller piece of the card. Here are two boxes made from one card.
If you have batting you can cut some to fit into the box.
Let me know if you make some boxes or ask me any questions.
Have fun!


10 comments:
...these are clever!
Oh, my! These are lovely. Thanks for showing us how!
That's such a cute idea! I love it!
Thanks so much. I may become a bit crafty with some old cards!
I was wondering how to do that! These are so beautiful! Thank you!
What a great idea .
What a great idea! Reduce, reuse, recycle and all that.
Hope all is well.
Stewart M - Melbourne
These are adorable and I even have a paper cutter! Thanks for sharing.
Hi Marcia! Those are lovely! I am going to give them a try! Thanks for the easy to follow instructions!
Thanks for this tutorial, Marcia, this is a great use for gift cards. I presume only unused cards are being used to create the boxes vs. any that have been received.
Post a Comment