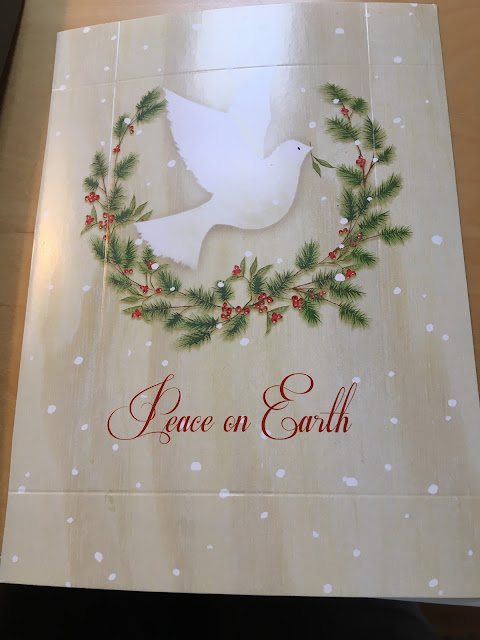
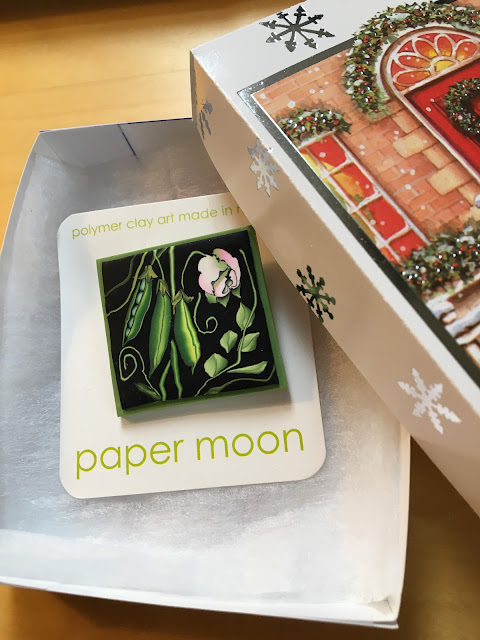
So many folks commented on the boxes I pictures on my Monday post that I thought I do a quick share on how to make them.
All you need is a card (I used Christmas cards), tape, scissors, ruler and a scoring tool. If you're a quilter you can use your cutting tool on a mat.
I have a paper cutter which has a scorer built into it.
Step one: cut the back and front of card apart at fold.
Step two: trim one long and one short side of the back piece by 1/8 or less. This will mean that the bottom of box will fit into the top. If you take off too much as I did on my first try the bottom will be really loose.
Step three: score the front and back of the card at the depth you want the box to be. Below you see score lines at 1 inch.


...these are clever!
ReplyDeleteOh, my! These are lovely. Thanks for showing us how!
ReplyDeleteThat's such a cute idea! I love it!
ReplyDeleteThanks so much. I may become a bit crafty with some old cards!
ReplyDeleteI was wondering how to do that! These are so beautiful! Thank you!
ReplyDeleteWhat a great idea .
ReplyDeleteWhat a great idea! Reduce, reuse, recycle and all that.
ReplyDeleteHope all is well.
Stewart M - Melbourne
These are adorable and I even have a paper cutter! Thanks for sharing.
ReplyDeleteHi Marcia! Those are lovely! I am going to give them a try! Thanks for the easy to follow instructions!
ReplyDeleteThanks for this tutorial, Marcia, this is a great use for gift cards. I presume only unused cards are being used to create the boxes vs. any that have been received.
ReplyDelete